Optimus Prime Owns My Climbing Wall
- Posted: April 01, 2010
- By: andylibrande
- In: Climbing Wall, Random, Rock
 0
0
Optimus Prime is the awe-inspiring leader of the Autobot forces. On the battlefield, there are few who rival Optimus Prime’s prowess. He is easily the strongest of any Autobot his size, and what he lacks in raw firepower he easily compensates with guts. He would sacrifice his life to protect his fellow Autobots or those under their care.
In the eyes of Transformer fans, this is God.
Could not resist the above description of Optimus Prime when I was looking for good photos to base my newest addition to the climbing wall.
A couple weeks ago Caitlin and I set-out to add a new feature to the climbing wall and messed around with a couple of designs. Caitlin suggested the Triangle type shape in the corner of the wall and then we started building.
Once we had all of the pieces cut-out we somehow came to the conclusion that the shape kind of looked like an Optimus Prime face and thus the rest of the project we were focused on making the best volume that I have ever seen.
Materials and Construction for the Optimus Prime Climbing Volume:
- 1 4×8′ of plywood (the stuff that is ~$25-30 sheet not the $40-50 stuff) (Plenty left-over as well)
- 4 Metal Angles
- Wood-screws
- T-nuts
- Black/White/Red/Blue Spray Paint
- Tools: Circular Saw, Jig-saw, Screw-gun, straight-edge, triangle, big-ass hammer
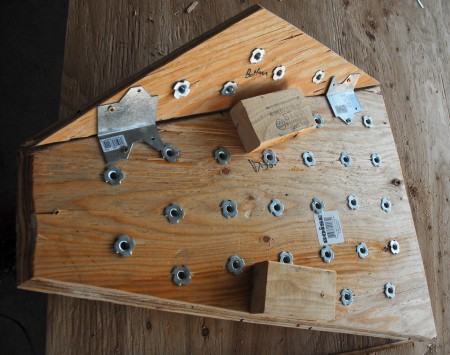
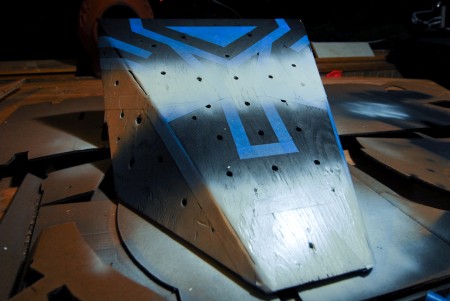
Started by cutting the shape based upon the angle to the wall. Due to the complexities of the angle we did a couple sample cuts in some shitty wood I had laying around until it was pretty close. Once we started the front panel was the first piece and we tacked it to the wall to measure the side-pieces. Measuring the side pieces was all about precision with the lengths and the angle to the wall. Once we had the main angles all we had to do was cut the edges at an angle where they would fit together. Then I bent the metal angles until they were at the correct angle and screwed them onto the main board after we had put T-nuts into each piece.The last step was painting with multiple black layers first, taping out the design, then white, red, and blue. Hang-up and enjoy.
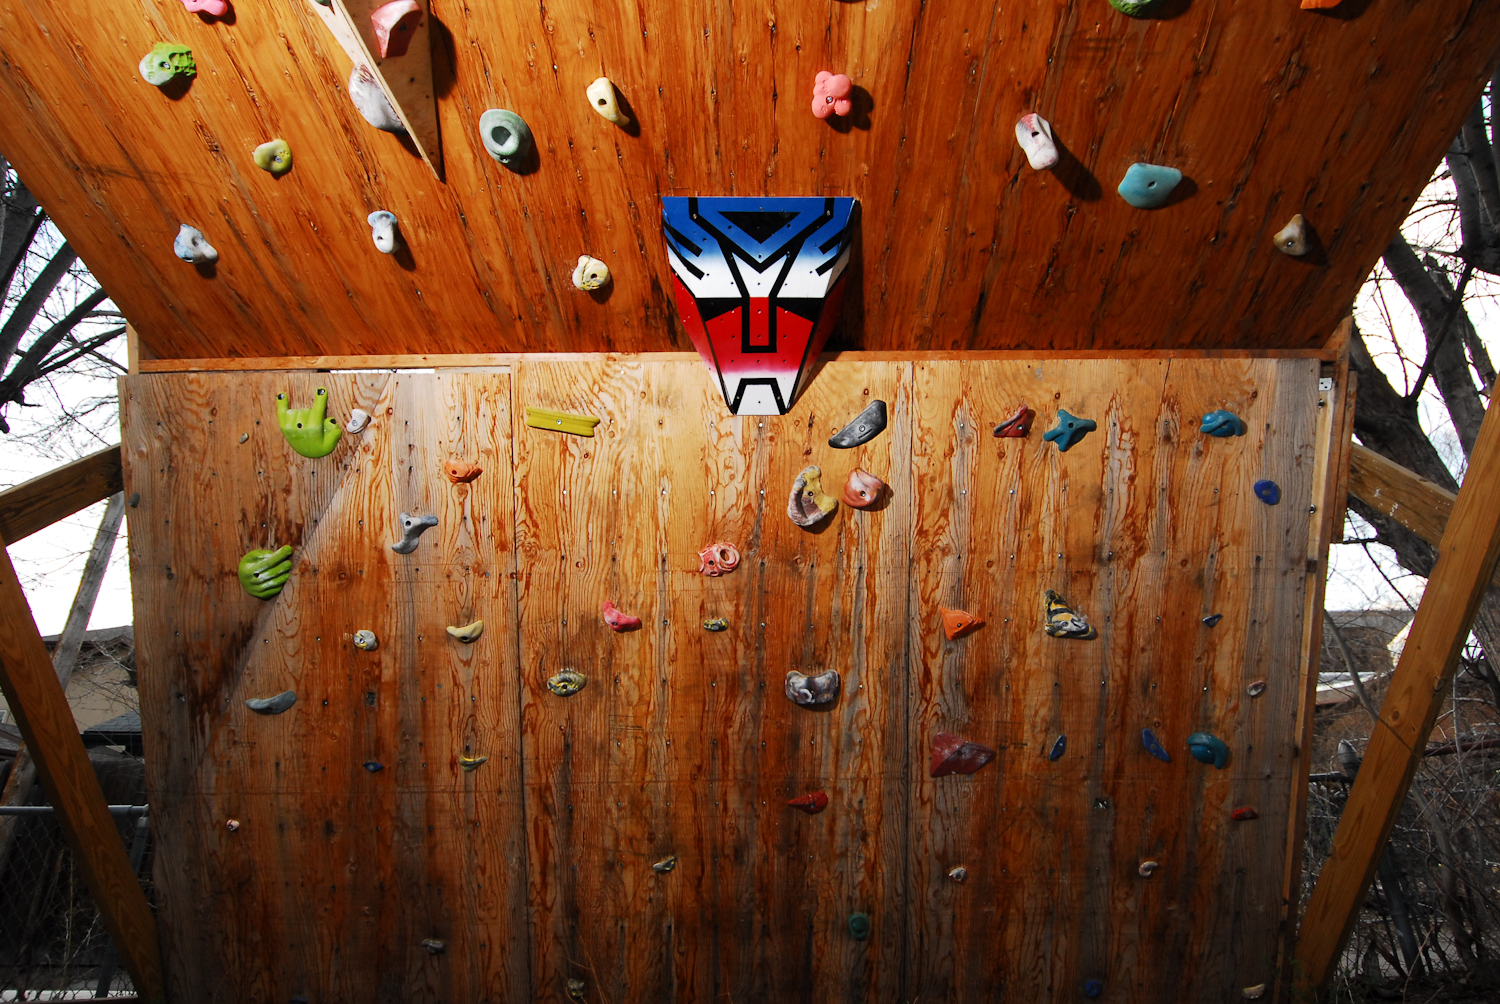
Here are a few pictures of the design process and the final product:
Caitlin holding the Optimus to give you an understanding of its size:
Optimus during construction. The wood 2×4 pieces never got used.
Optimus after receiving numerous Black Paint coats, then being taped-off for the face features, and with a little white:
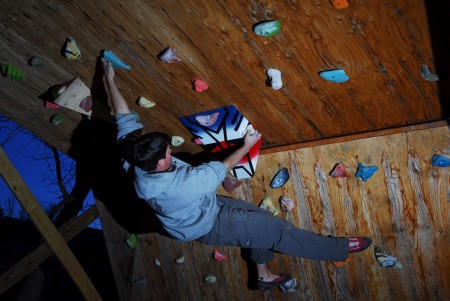
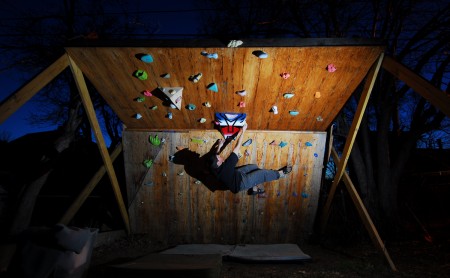
Taking Optimus for a Test spin:
It’s so beautiful I have a hard time putting holds onto it right now:
If you are following via a feed, here is the permalink: http://andylibrande.com/news/2010/04/optimus-prime-owns-my-climbing-wall/




Recent Comments: