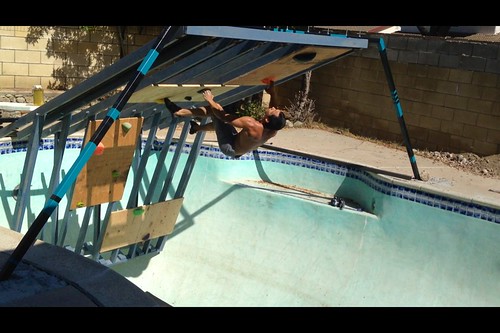
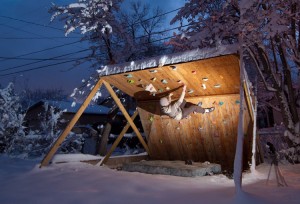
Every once in a while someone sends me some photos of their walls and a thank you for helping them figure it out. Marcus’s wall was an exception being an all-steel custom built structure, built in an old pool, and beautifully done (perfect t-nut spacing, painted, transition into a roof).
Can’t really call this one a “Home Woody”
Enjoy:
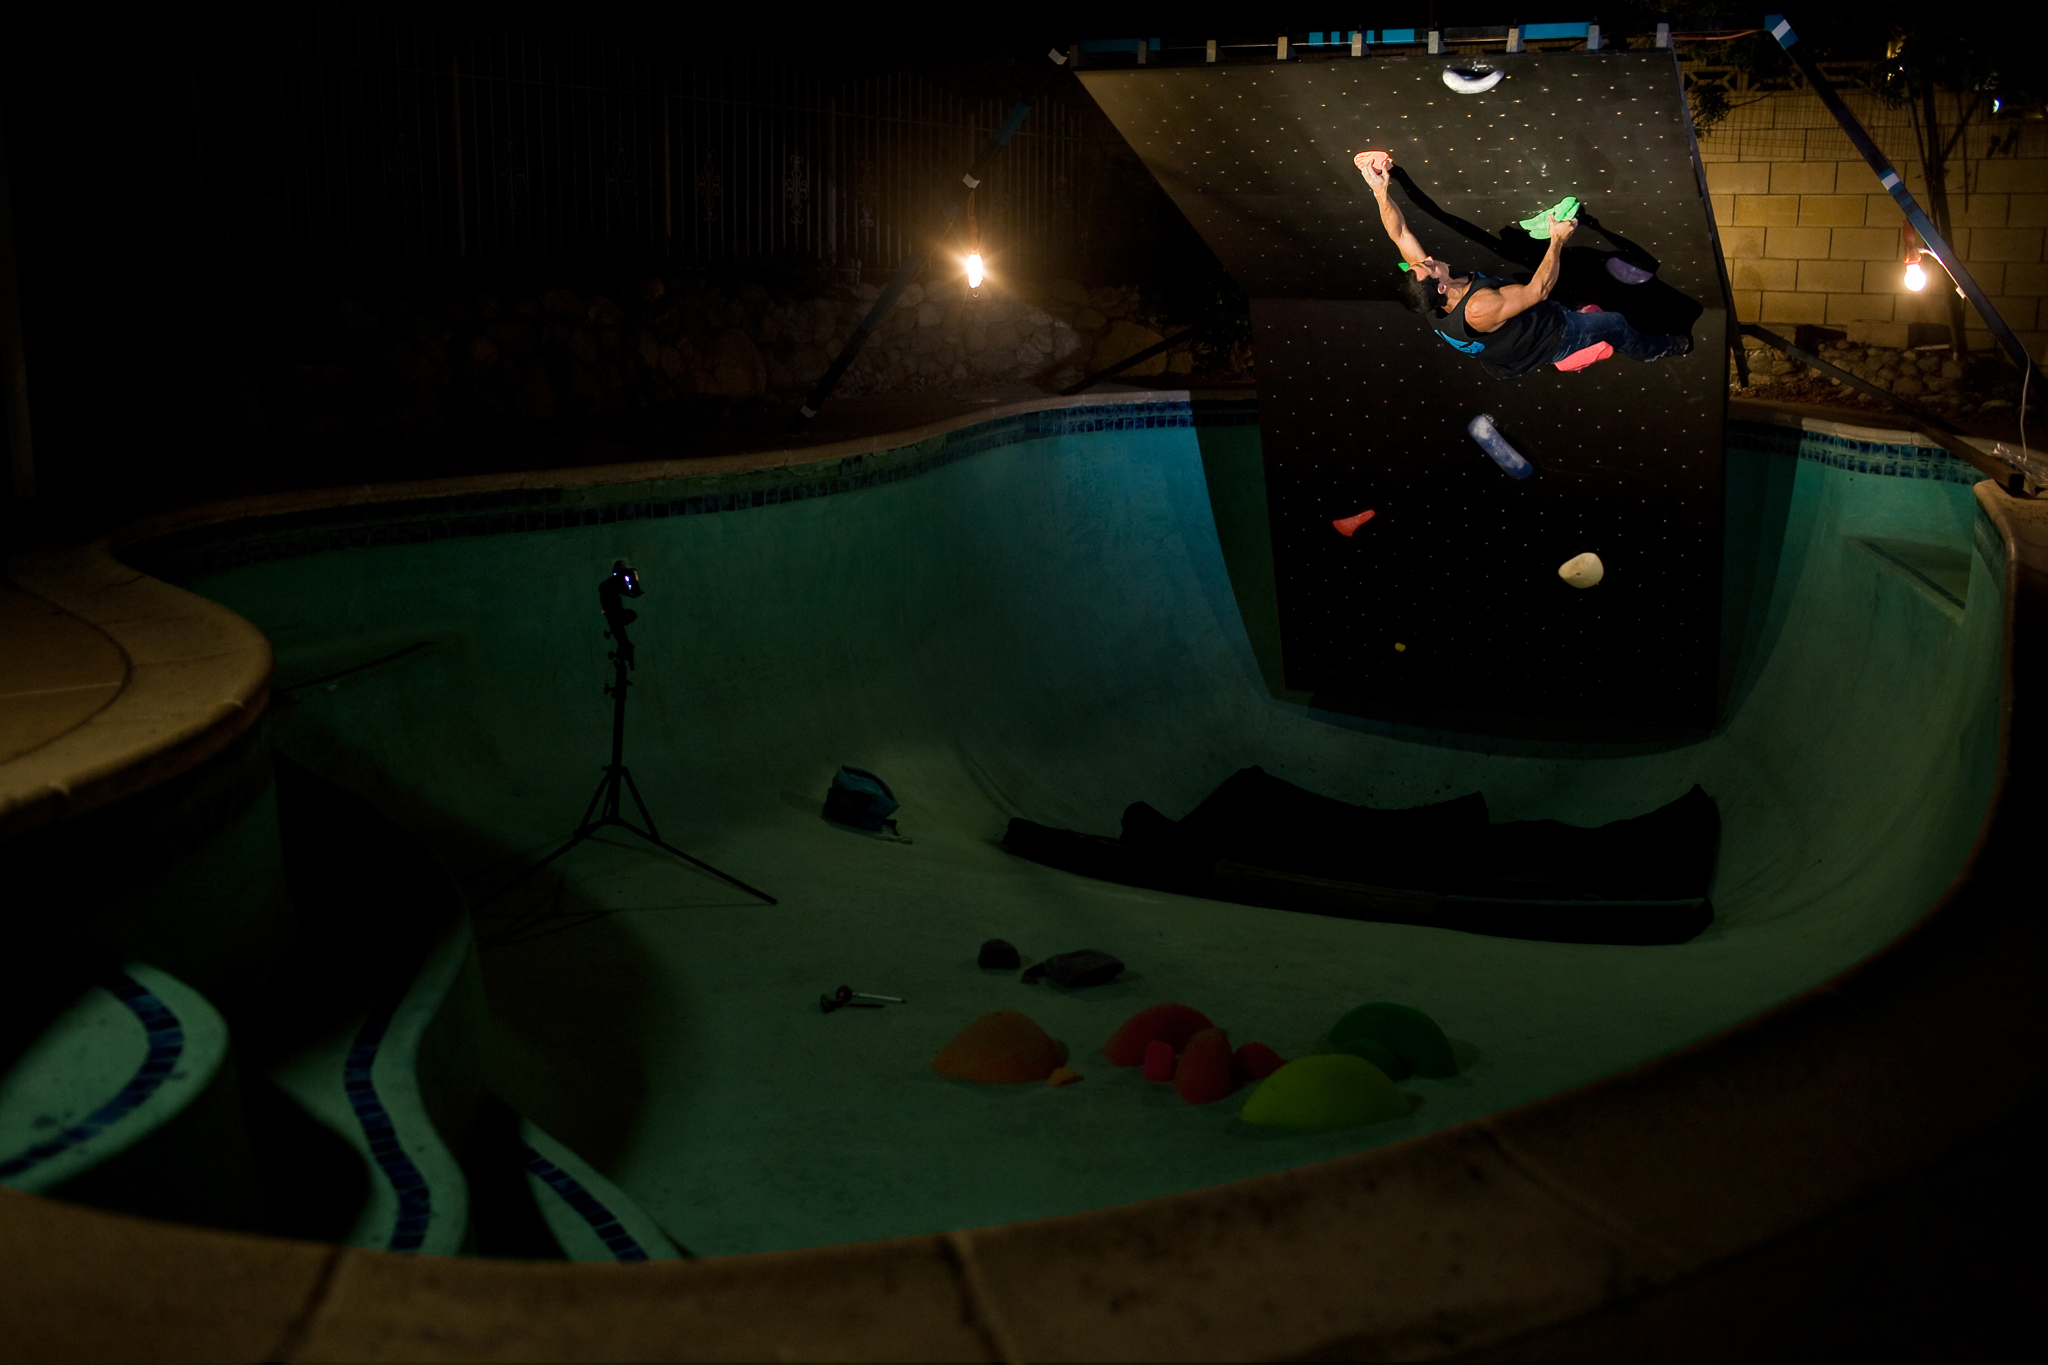
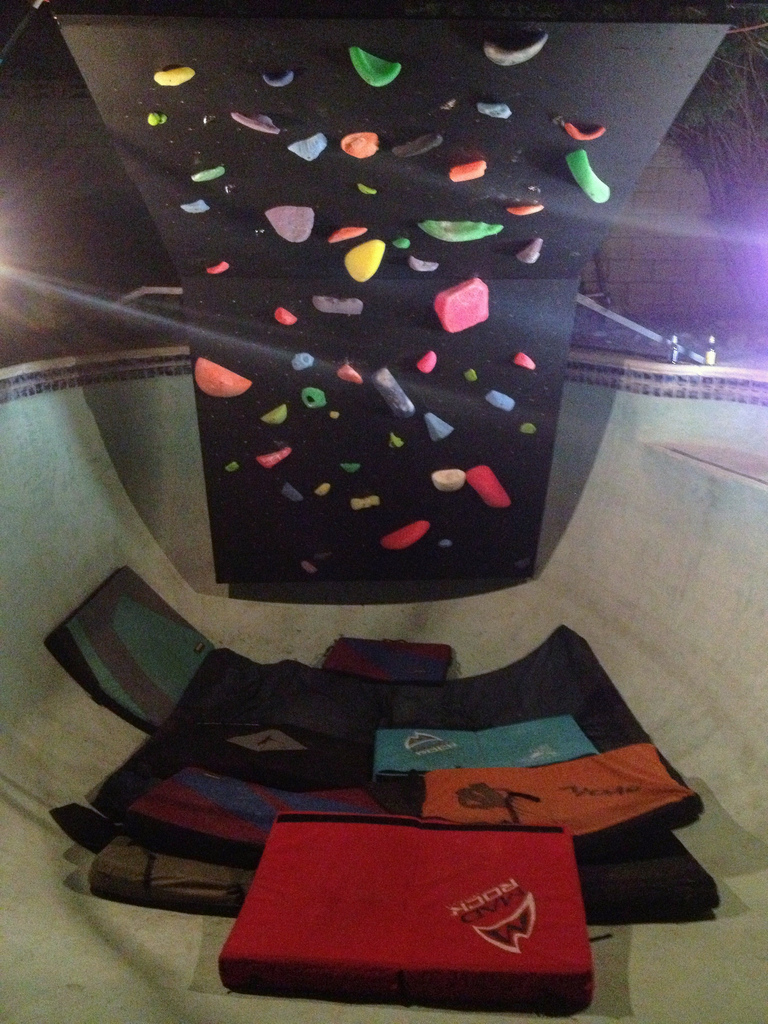
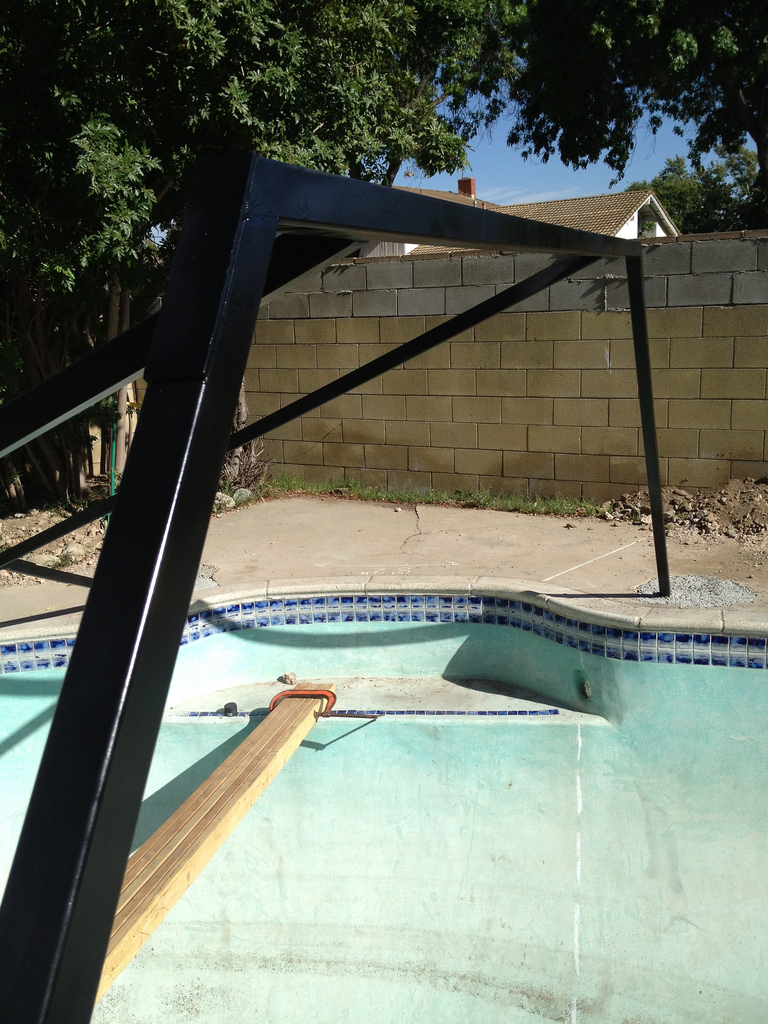
Marcus also went through the process of writing up some of the details and behind the scenes for anyone else that has a pool laying around or is curious about doing steel structures.
Click More for information on the Build Process
Marcus’s Build Process:
You can view the Flickr Photostream here: http://www.flickr.com/photos/skillzout/
Also with the photostream if you click on the first photo and click on the left arrows it will take you in progression through the whole build process with more photos then what I have below. Start Here and then click left: http://www.flickr.com/photos/skillzout/9454817580/in/photostream/
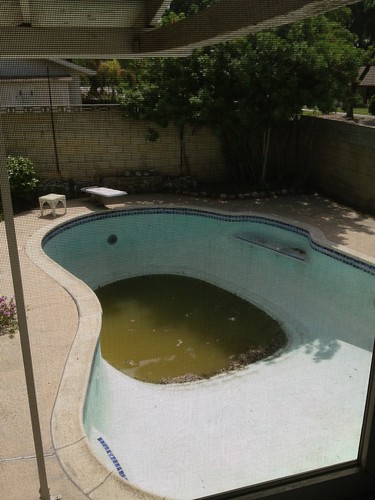
My parents said they wanted to fill in my pool because no one takes care of it and no one swims in it. I knew there was something fun that could be done with it so I dreamed of a way to make a climbing area out of it.
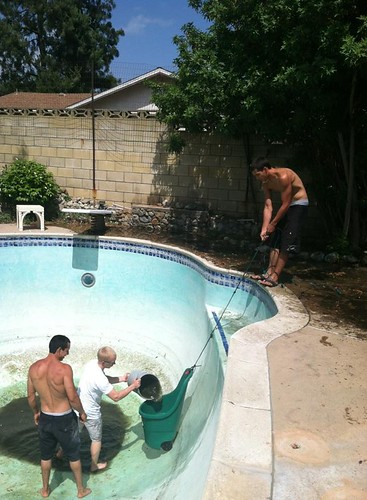
Luckily I had friends that were able to help lend me a hand to get that gross water out
of the bottom of my abandoned back yard pool.
I thought to myself, how am I going to do this? So this is one of the many crude sketches
I had drawn in order to convey better what I was thinking of doing to create a climbing wall
training facility in my back yard.
As I was hammering away and dreaming of my project, I ran into a friend that said he is
just graduating architecture school! So I had him come over and do some measurements to
make a 3d model of what exactly I wanted to do and what it would look like. This is when
my vision really started taking place.
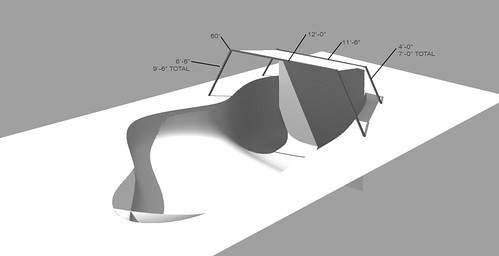
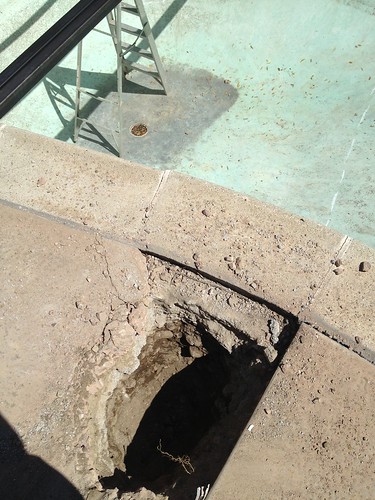
I purchased a sledge hammer and I began to smash at my concrete until I got to dirt to dig
with a shovel. This was a rather difficult task to get all four holes smashed through.
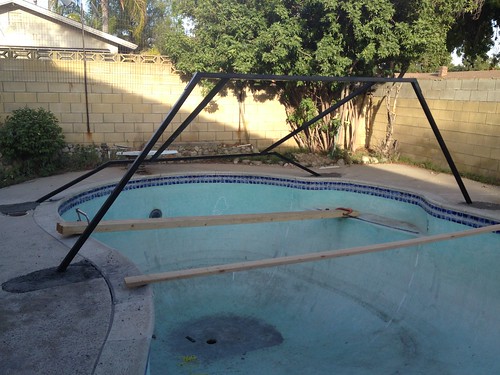
With a little help of my metal working Uncle, I guided us to make the proper measurements
to cut my steel beams and place them into those holes I had dug earlier. This was very exciting!
If you look closely in the background you can see a string I had tied from my brick wall to
my gate. I did this so I can measure the height of both of my support beams so that I could
cut and angle the beams on the sides appropriately. This was the biggest mental challenge yet.
I didn’t have much room for error and I did not want to waste my money or the time with
the tools I had there available. I would say that was the biggest hurdle.
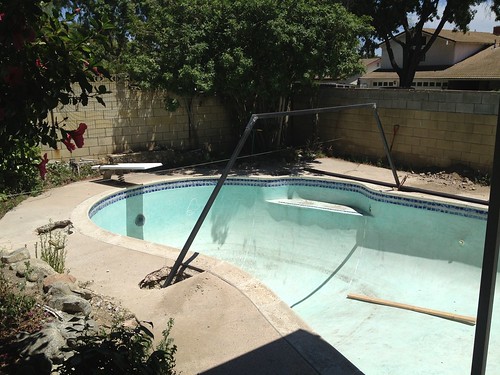
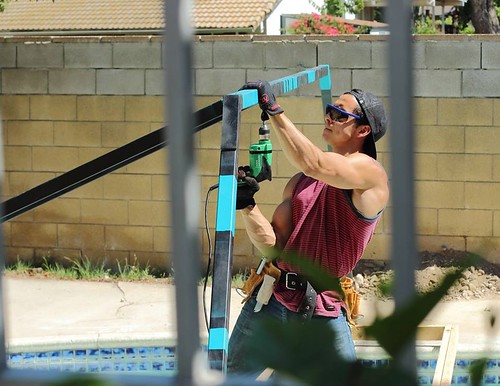
This was an awesome moment. This was a photo of me welding on the last of the support
beams. My steel frame had finally taken shape and the very project I had been losing sleep over
was finally becoming a reality.
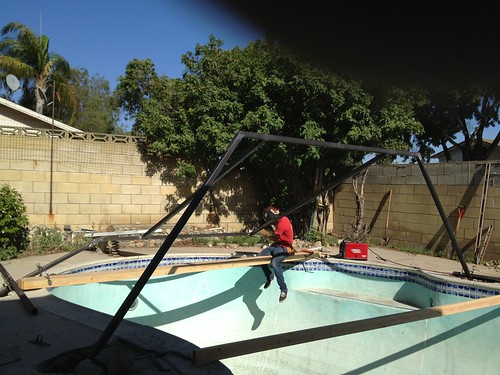
I bent pieces of re-bar and tacked them to the frame as they were in their respective holes,
I stuffed the holes with concrete and packed concrete around the said rebar so that my structure
would stay firm where it is with the concrete. I then coated it with automotive primer to help
protect my outdoor steel frame structure against the elements.
I had to make it look pretty! added a touch of semi gloss paint to add a more professional
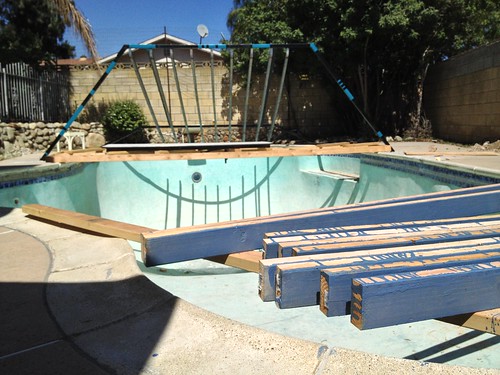
look along with teal stripes for a little pazazz.. Some precise measurements were to be made from the parallel beams in order to put my 2×4 wooden beams, so they were made and I drilled 3/8 holes as straight as I could for some 3/8 bolts.
I had to cut the 2x4x12s very specfically so that they could sit flush with the square beams
and I had to drill holes in them so that the 3/8 bolts would go through. I had to get very clever
with the hole drilling and what I was doing. I painted my wood before I put it up to make it
last longer.
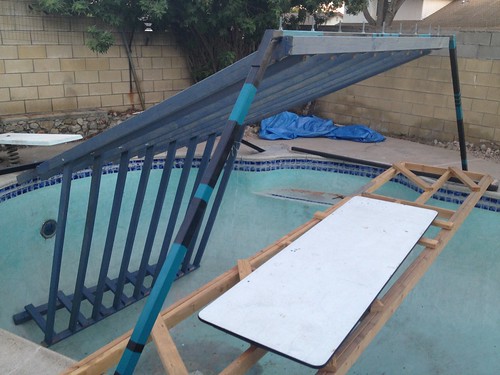
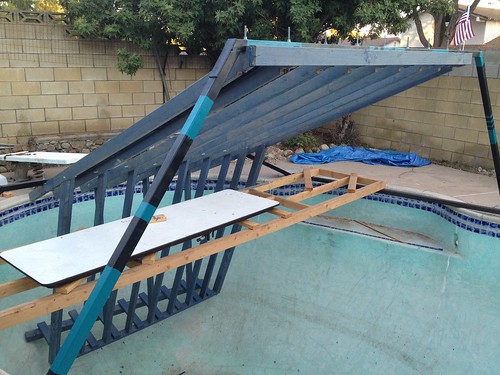
After a late night building session finally I got the bottom portion dangling from the top beams! The Bottom portion of my wall finally had taken some shape!!
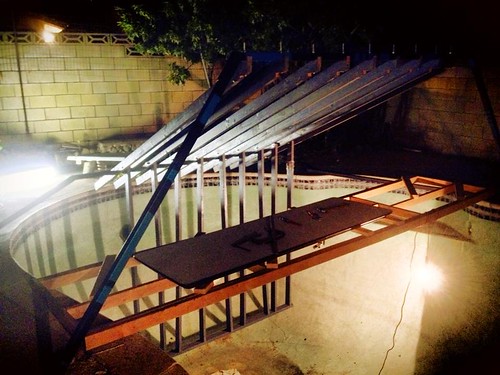
I was very distraught at how I was going to get my wall to go against the pool wall.
So many ways to do it, I just didn’t know how I was going to do it.. I want to spare you my
thought processes but I ended up using a 4x4x8 and making special jig saw cuts through it,
drilled holes into it, drilled holes through it into my pool cement wall, stuck 6″ bolts through
the 4x4x8 and into a “red head” or concrete expansion bolt deal that would hold that bottom
part of the wall to the wall steady!
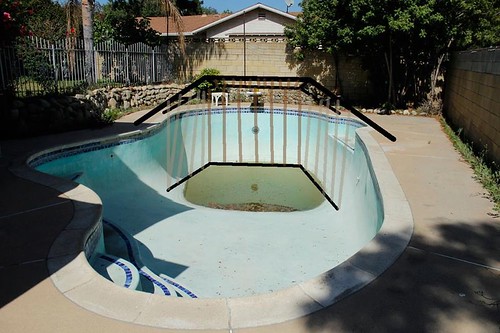
This photo looks only slightly different! can you notice the differences? I put 3 trust beams
going from the bottom to the unused extra beams that were sticking down. This is to help
for just in case those two 2,000lb pay load bolts rip out some how. They would never rip out,
but better safe than sorry with any climbing wall right?
I was antsy, so I slapped a few pieces of plywood up just for fun to climb it.
Editor’s Note: I think we all would do this!
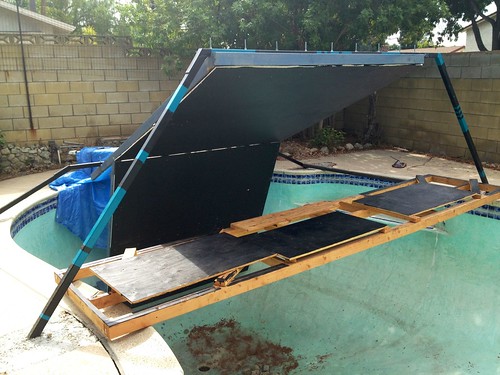
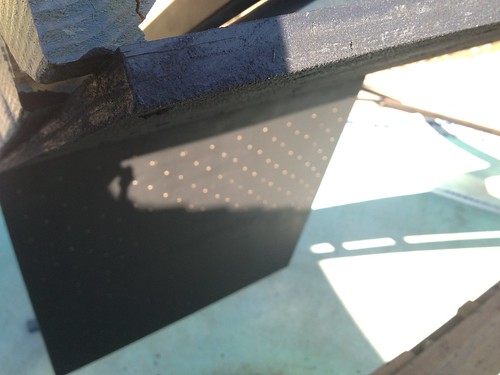
IMPORTANT! I made a climb on the wall when it was just painted black because I knew I had to t nut and drill 520 holes total and wanted to set a climb to feel it out. I was stoked! I just left it there for when I was to work on it next. – So I got back to it, un screwed the bolts all the way off to find that my hold was still stuck to my wall. I pretty much one arm pull up’d the hold to get it off. It ripped off a piece of plywood, and paint pretty bad. They all did this on varying degrees of how bad it was. I knew there was something to be done.
Purchased a paint tcalled “Anti-Skid Deck Paint” , it already comes textured and for 8 extra dollars go the extra mile. Also purchased an paint additive called “Shark Grip” to add that extra texture. I completely over did it with the Shark Grip additive mixed into my Anti Skid Paint and it was a great idea. It made for a super textured awesome wall. Let the deck paint dry for at least 48 – 72 hours. My wall is super textured now, I love it.
Editors Note: Hold’s sticking to paint is common and can destroy your paint job. Marcus’s solution is a common one and looks great. Another option is to polyutherene the hell out of it, but this textured paint is a much better solution. I only suggest polyutherene on painted volumes like my Optimus.
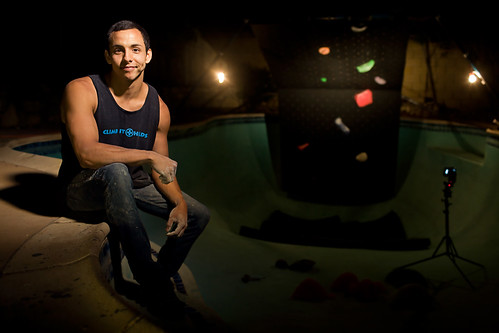
One Happy Marcus with his new Woody!
Specifics:
- 8ft wide and 16ft of climbing
- ~12ft at top of wall
- 3 months build time
- 520 T-Nuts
- 4 Steel beams 20 ft long and 2 inches x 2 inches
- 4 Anchor holes for the steel beams
- Paint used: Anti-Skid Deck Paint + Shark Grip Additive
Thanks Marcus for this great write-up and this amazing wall!









2 comments
Thank you for this helpful and awesome website! It’s an honor to be featured here!
I hope someone skated that perfect love-seat before you built! Bad-ass wall either way Marcus!