How to Clean Climbing Holds

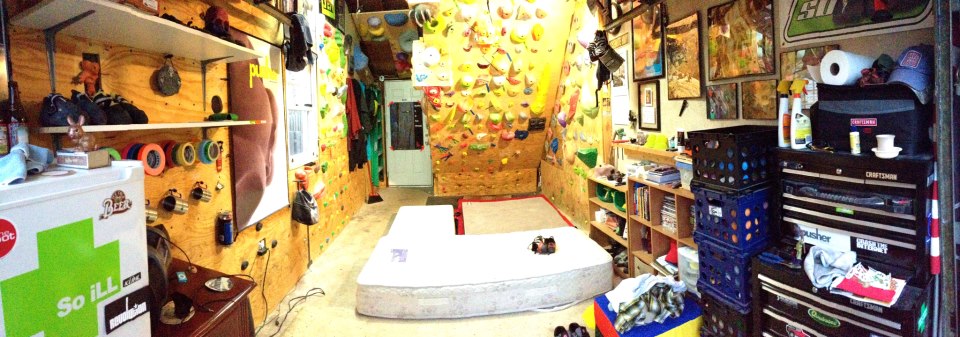
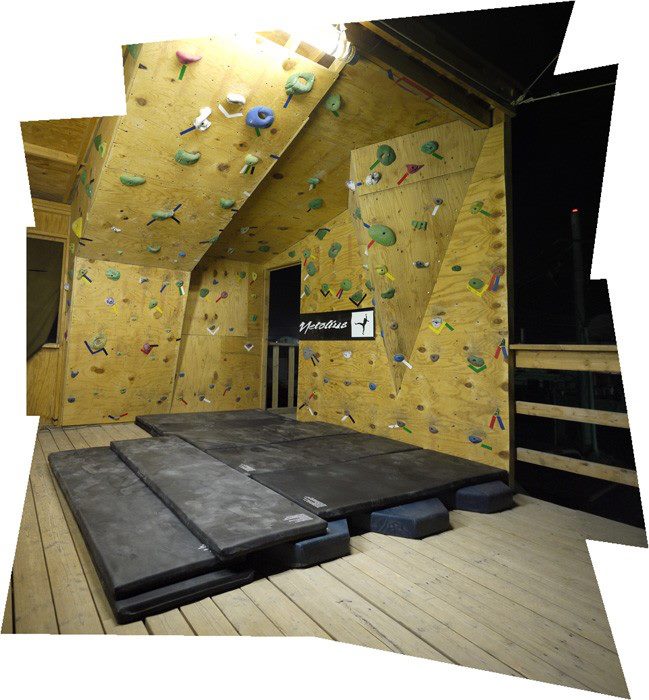
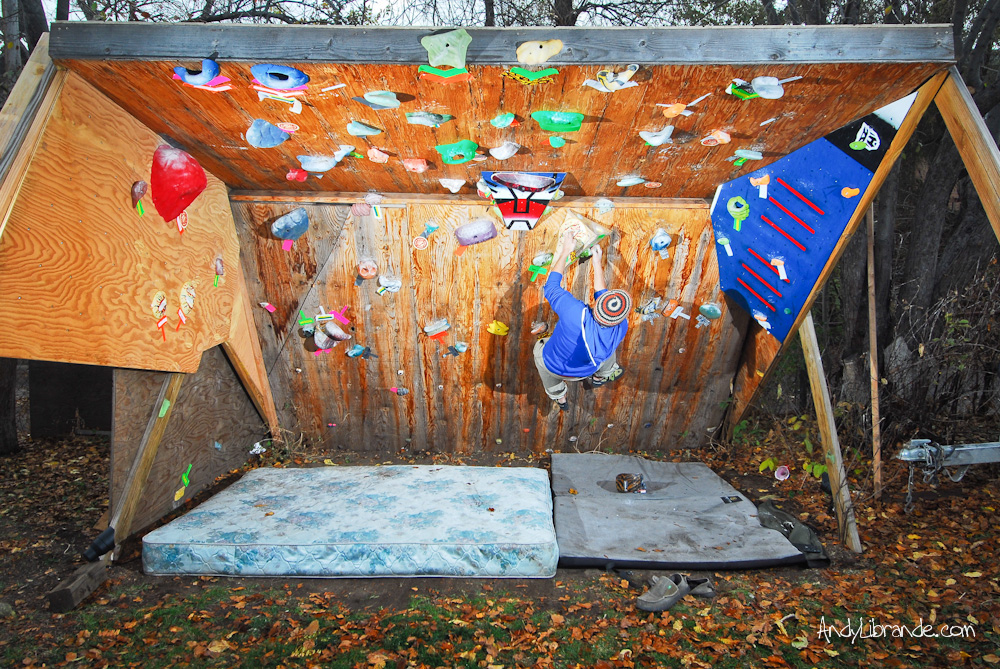
There are several ways to clean climbing holds and from a perspective of a home woody owner there is one really easy way and lots of other harder ways.

The easiest way to clean climbing holds:

Materials: 

    • 1 Gallon White Vinegar
    • 1 x 5 gallon bucket
    • Water
    • Stiff nylon brush (optional) also a metal brush may work too if you are careful
  1. Fill a 5 gallon bucket halfway with really hot water
  2. Add in about 1/4 of a gallon of Vinegar (can be less or more)
  3. Let the holds sit for a couple hours
  4. Wash holds in clean water
  5. Scrub any holds that are extra-dirty with the brush
  6. Repeat cleaning process on the dirty holds

This method is incredibly easy. As in it sounds almost too easy. For the most part this will get all of the girt and most of the rubber off of the holds. It won’t clean the dirtest of the holds and they may require additional work, however this is a great way to freshen up your holds.

Unless you are a commercial climbing gym you don’t need a dishwasher or anything like that. Now that I know cleaning them is so easy I generally freshen up the holds quite often.

Additional Options for Deep Clean:

  • Power-washer the holds
  • Metal brush and scrub the hell out of the rubber areas

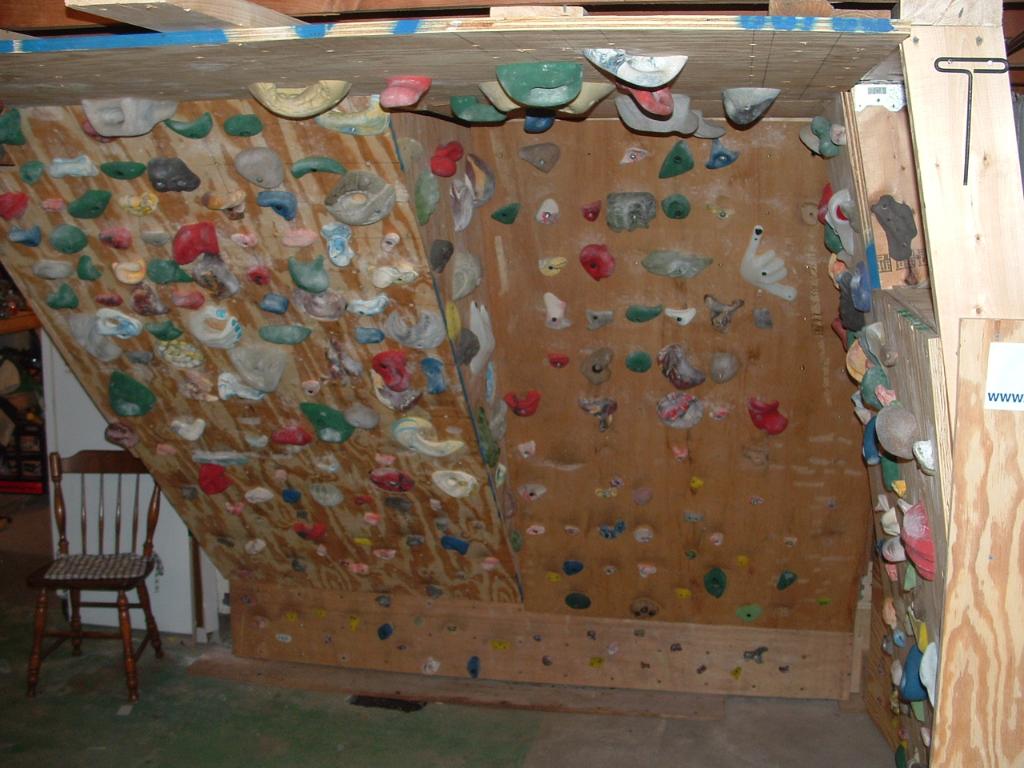
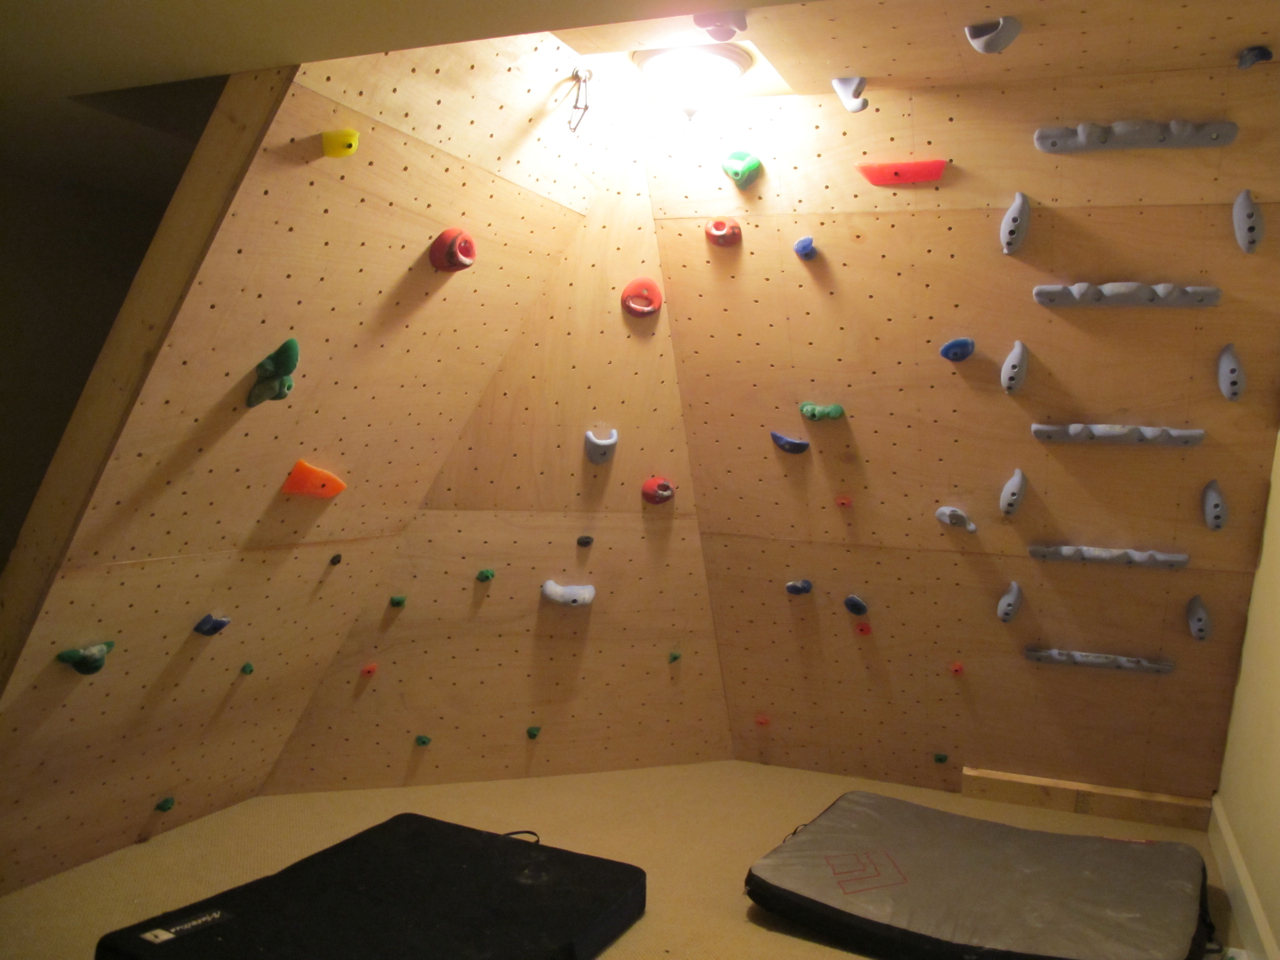
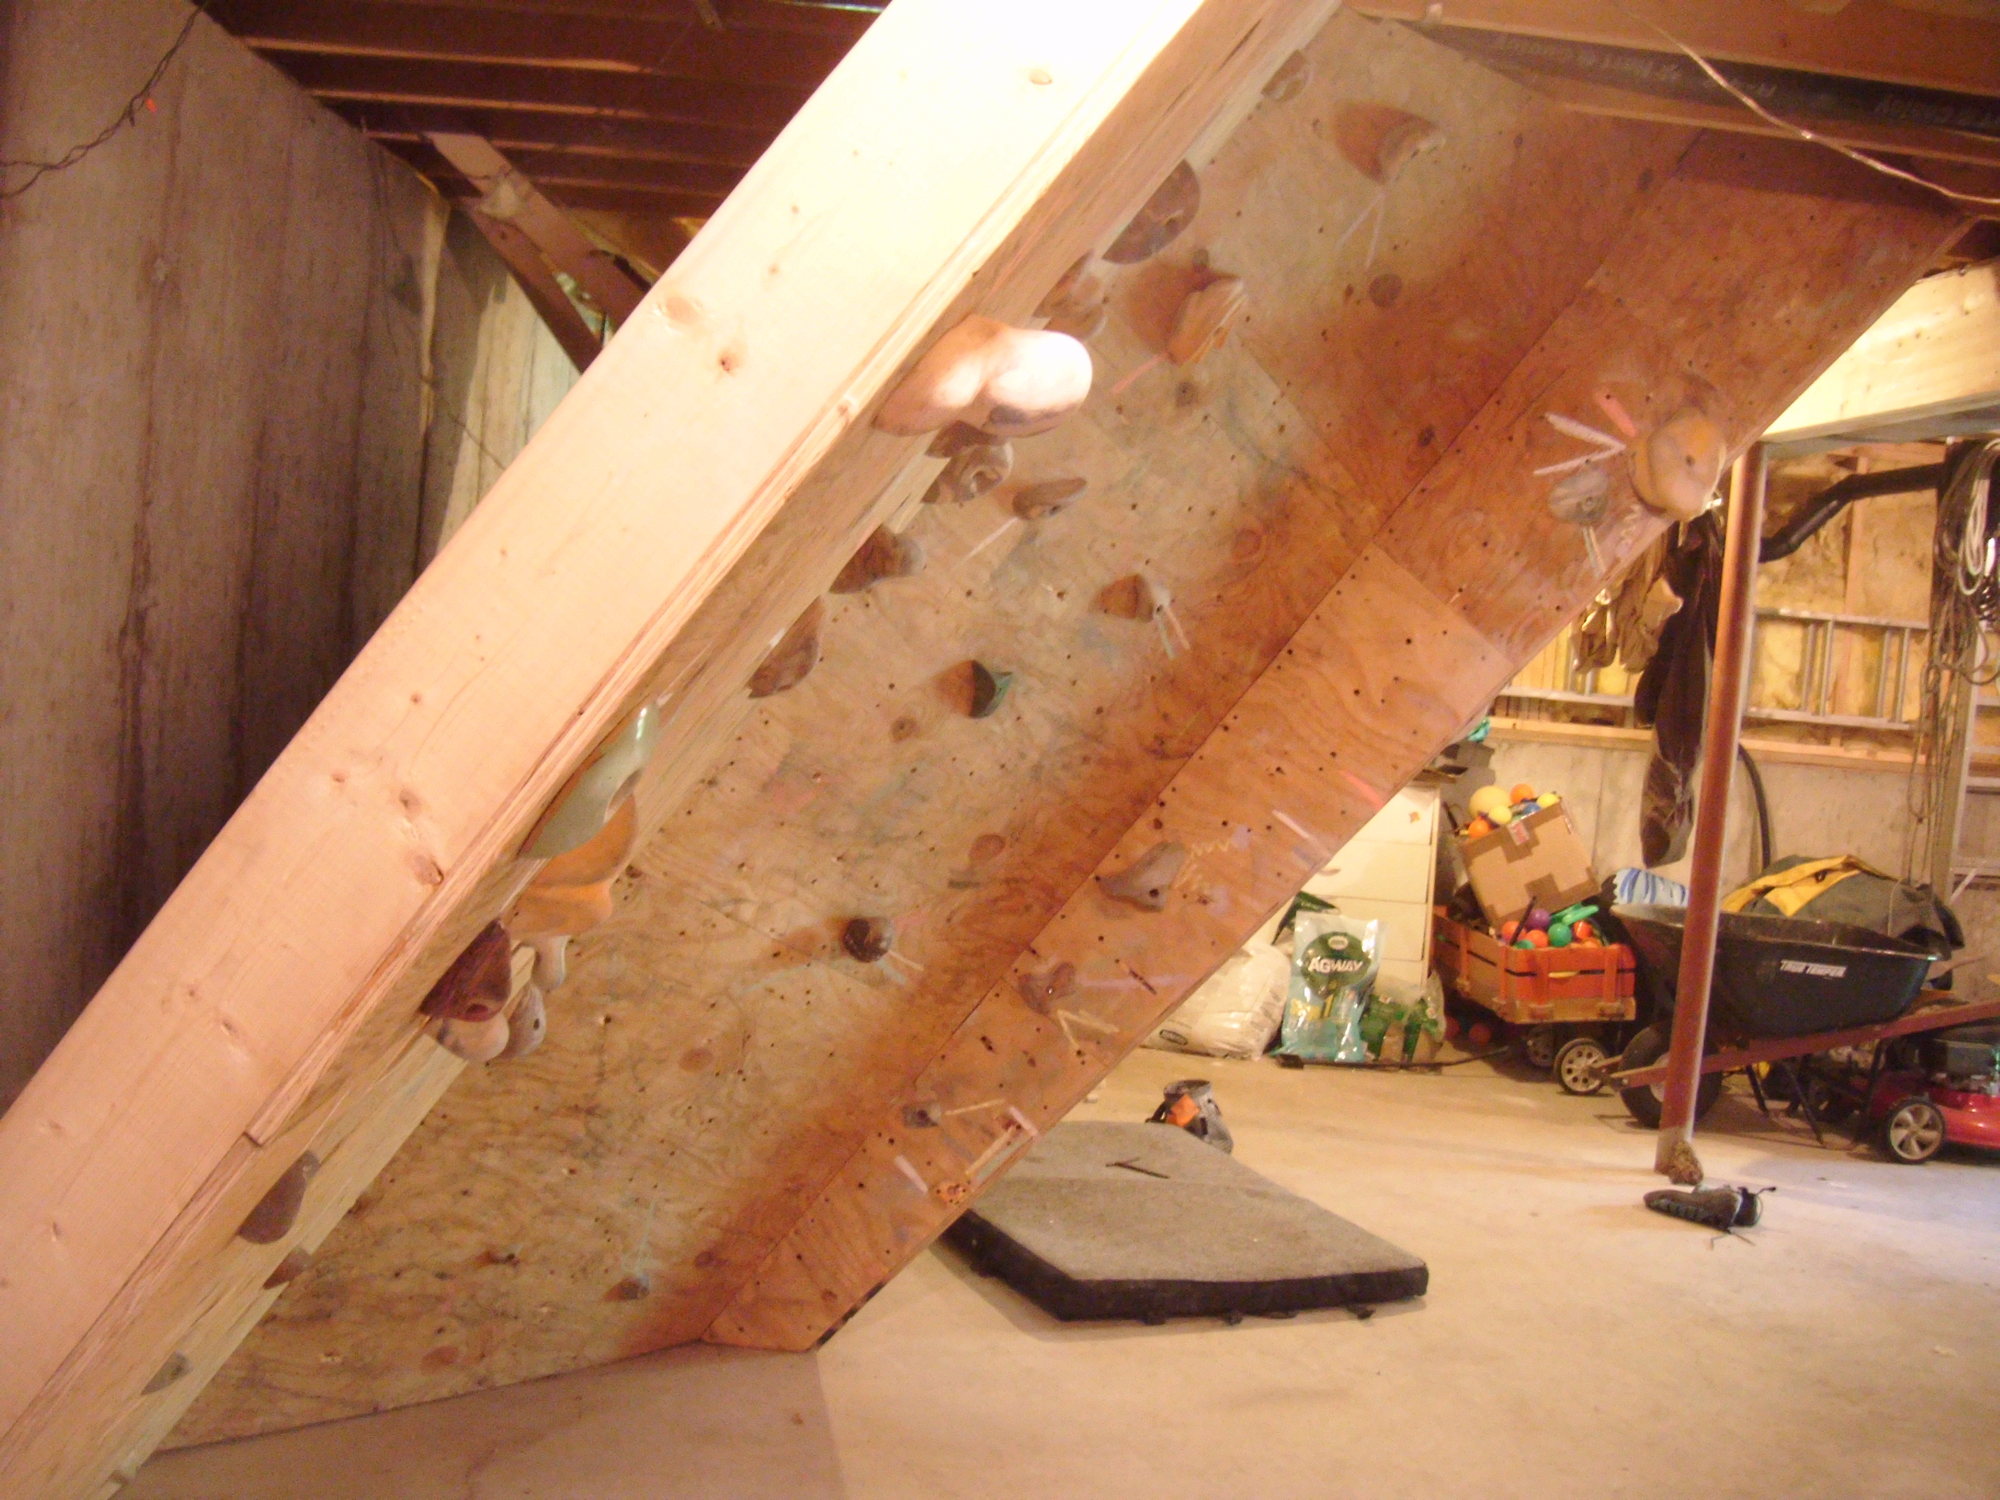
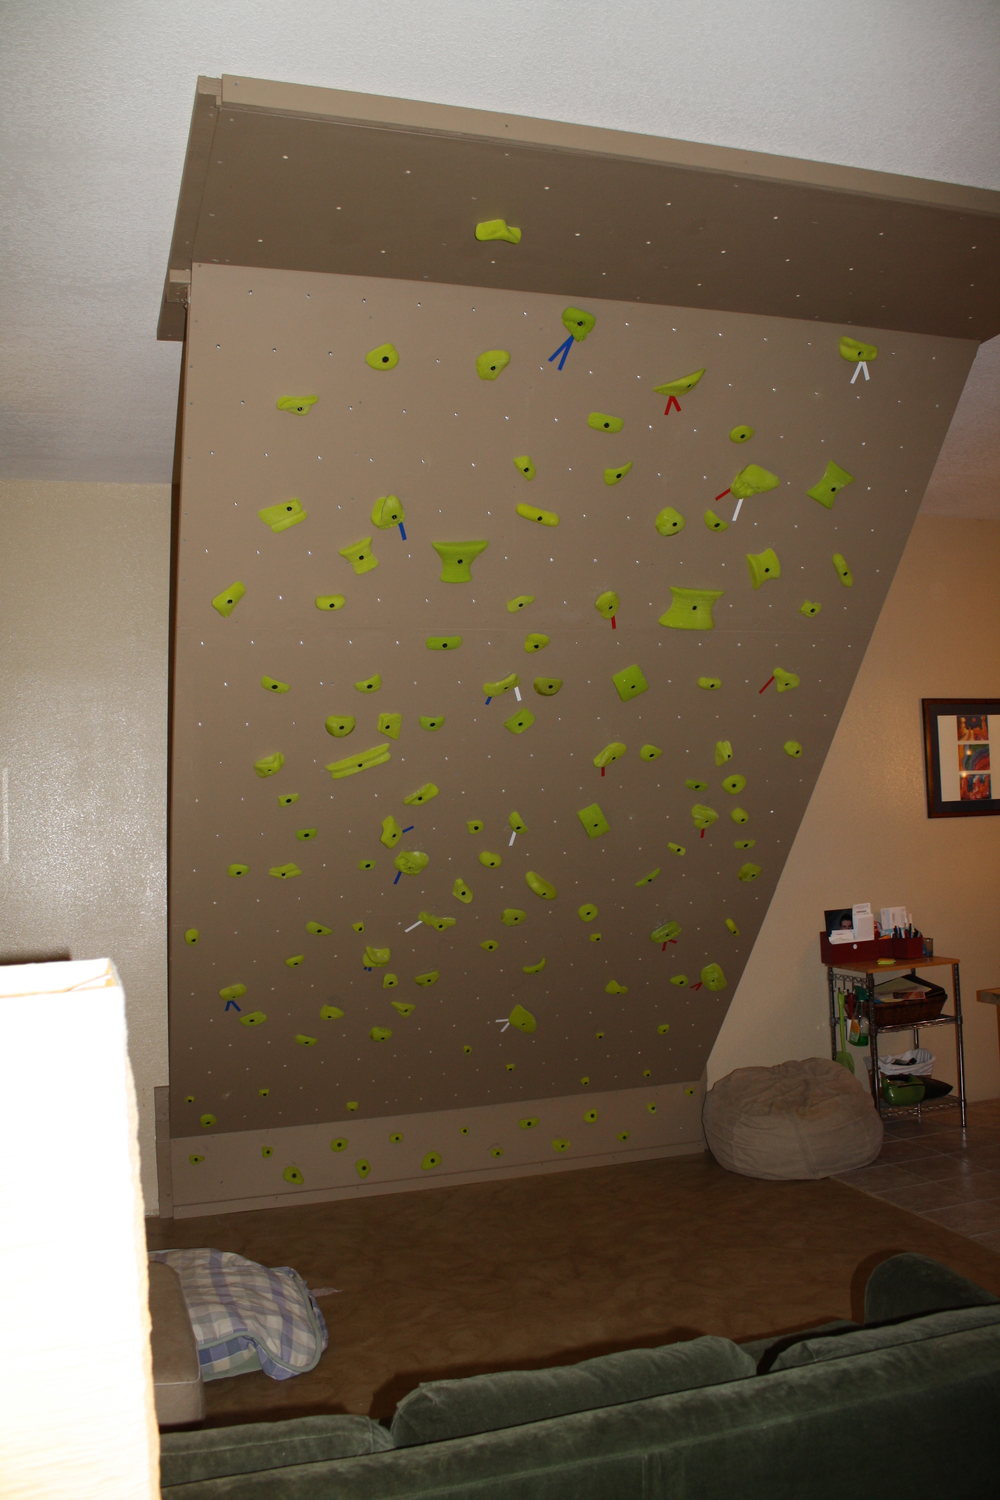
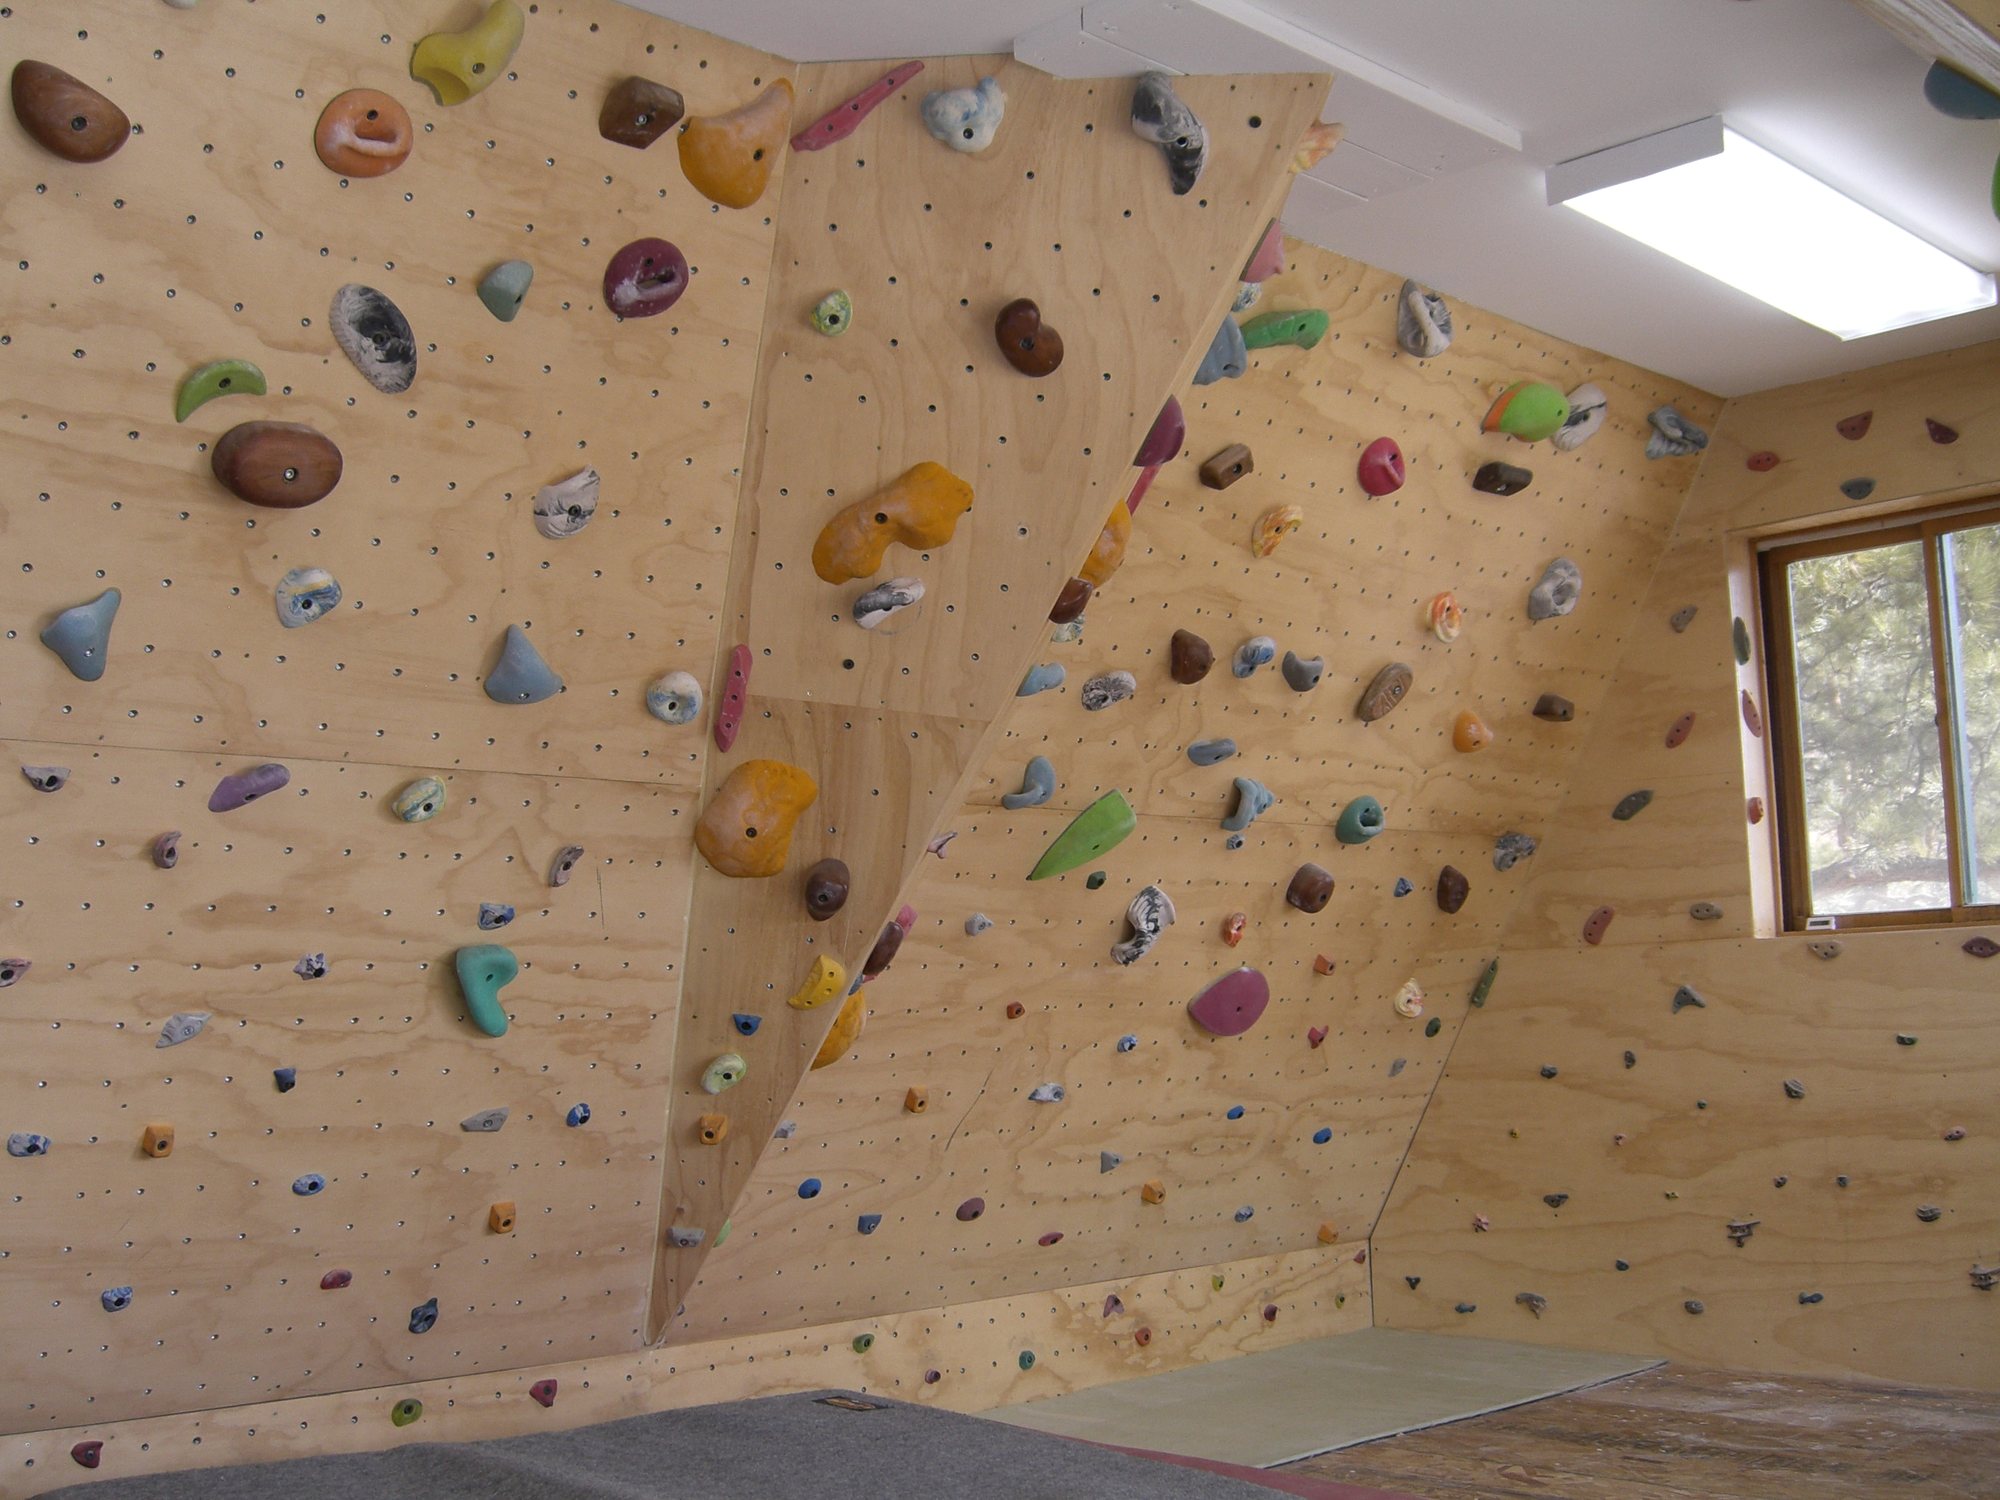
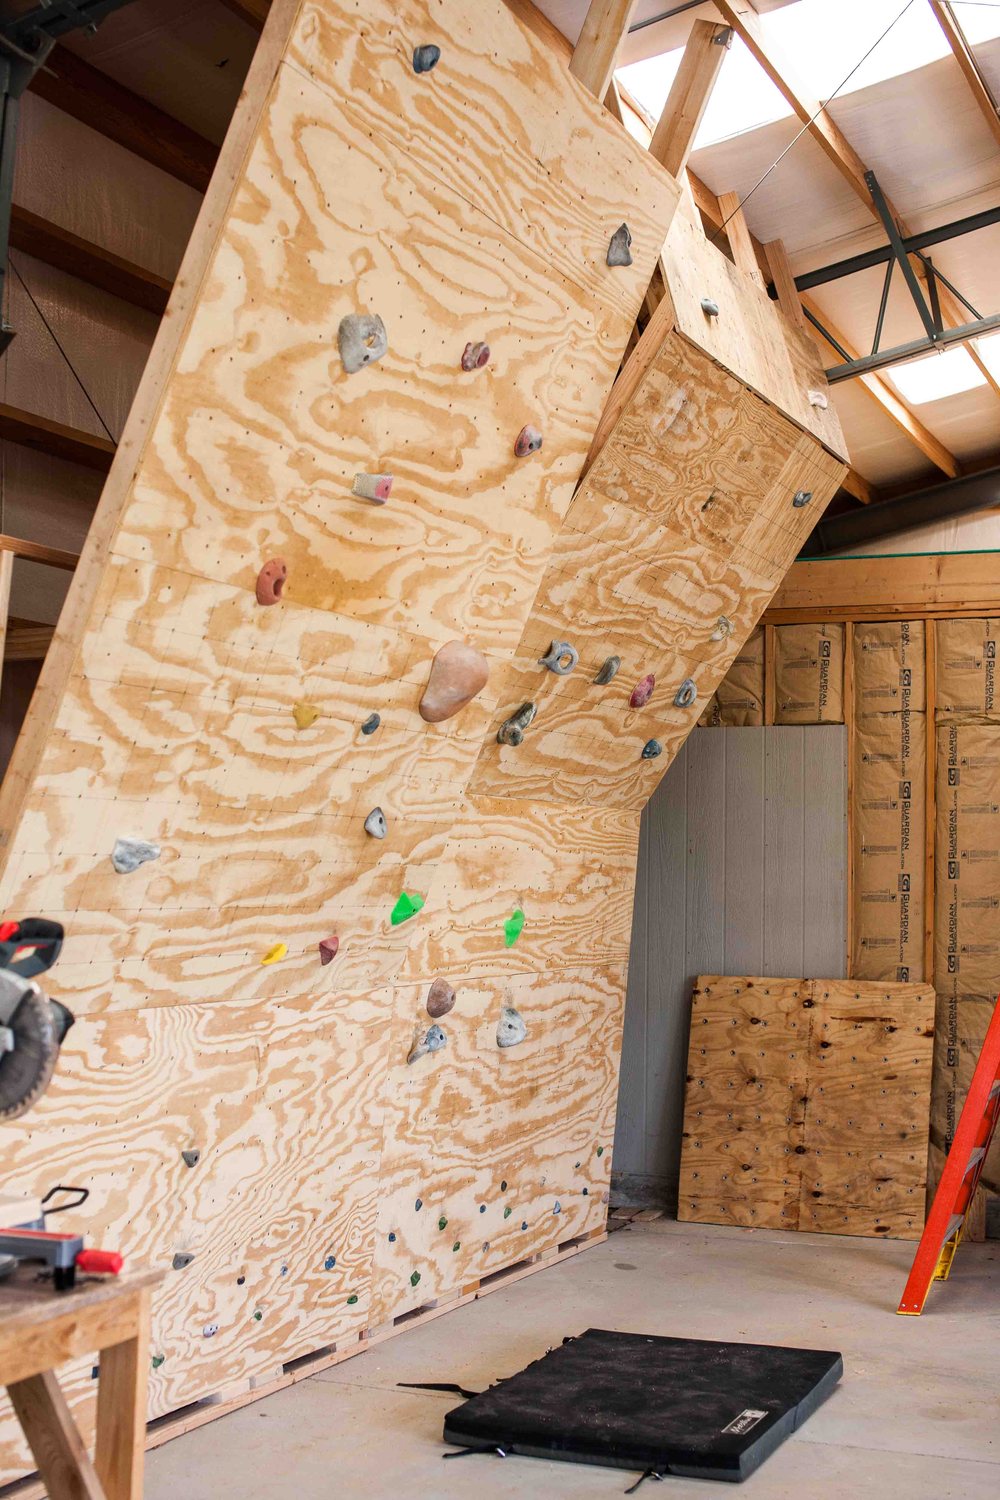
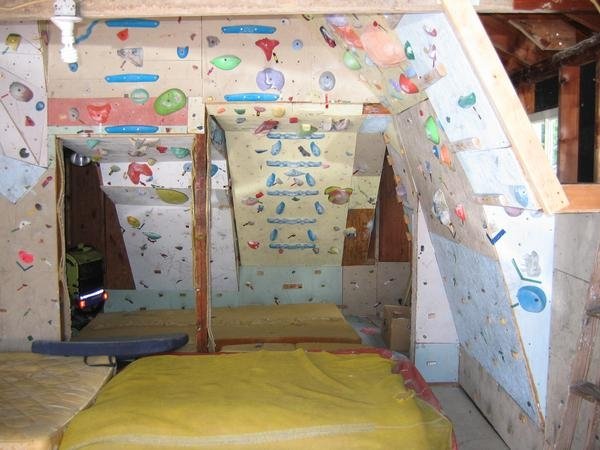
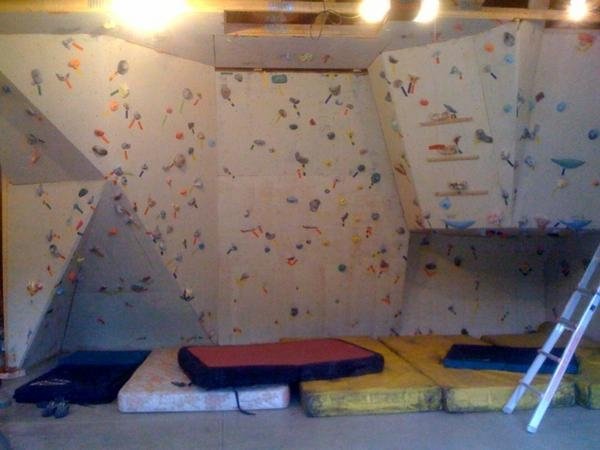
[notice]RESULTS: Top picture is ClimbIT font holds, a Nicros mushroom, Project holds jugs and some Contact Climbing sudz. The bottom photo is after cleaning in vinegar (note brown left on the biggest hold turns out to actually have been stained by the weather since I have an outside wall):  [/notice]

[tab: BEFORE CLEANING]

Dirty Climbing Holds

[tab: AFTER CLEANING]

Clean Climbing Holds

[tab:END]


[important]Read my Review on Soill Grip Wash vs. Vinegar: [/important]

http://andylibrande.com/homeclimbingwall/2012/11/soill-grip-wash-review/

soill grip wash and vinegar

The Battle beween the Green Stuff the Smelly Stuff

SoiLL Grip Wash Review

SoiLL Grip Wash Review

The Magic Green Stuff Pouring out of the Bottle


Soill Climbing Holds recently came out with a special grip wash that comes in a “powder” form. Prior to them coming out with this wash, most of the industry standard was using Muratic Acid, which is nasty stuff. This is a lot better/nicer then that (but maybe not as effective)…well at least you won’t melt your face off.

I didn’t realize there was other options to clean your holds until recently but found that vinegar is an amazing solution:

READ MORE HERE ON HOW TO CLEAN WITH VINEGAR: http://andylibrande.com/homeclimbingwall/2012/11/how-to-clean-climbing-holds/


Link to Grip Wash here: http://www.soillholds.com/grip-wash

Video on How to Use Grip Wash (quite entertaining for a how-to video!!!)(also this is the liquid version which is suppose to be the same as the powder version):

So iLL GRIP WASH from CryptoChild on Vimeo.


Here is my abbreviated review of Soill Grip Wash:

Vinegar vs. Soill Grip Wash: 

I filmed some stuff, however I am lazy and it takes a while to put together a film, so here is the quick run-down:

  • Pros:
    • Soill grip wash I would say is a little better at removing the nastiest of rubber then vinegar
    •  Works slightly faster then vinegar
    • Can be used in a dishwasher
    • Is an awesome Green Color
    • Smells a lot better then vinegar
    • Very portable and doesn’t take up much room (unlike 1 gallon vinegar bottles)
  • Cons:
    • Expensive: 1 bottle is ~$18 and according to directions can only do 5-10 batches at most. One gallon of vinegar is only $3-5 and can do at least 5 batches.

Should you Buy it?:

Vinegar is kind of the magic cleaning solution.  Try vinegar first. It can’t hurt the holds and you may like the results. Also vinegar is regularly available at your local grocery store.

If that doesn’t cut it then try the Grip Wash. In my opinion the Grip Wash is slightly better then vinegar but not significantly.

I also found that for some companies the SoiLL grip wash was slightly better. Again not super-conclusive but just general observations.

If you are a commercial climbing gym I would give it a try just to see if it does make your process better and or faster as that may mean more $$$ in your pocket.


soill grip wash and vinegar

The Battle beween the Green Stuff the Smelly Stuff

ROI of a Home Wall

Building a Home Bouldering Wall is not an inexpensive thing to do, however the benefits it brings you usually outlast any monetary investment. Below is the simple math of an initial climbing wall and its expenses.

Climbing Wall Costs:

  • Materials for a 8ft wide x 16 ft long freestanding wall:
    • Panels: 4 (4’x8′) Panels – ~$160
    • 2×4’s – ~$45
    • Supports: 2 Pressure Tr – $30
    • Screws: 5lb for $20
    • Tools: Not included in this ROI
  • Other Expenses:
    • T-Nuts: ~$50
    • Initial Holds: $250
    • Wrenches: $15
    • Hot Dog at Home Depot: $3.00
  • Total Upfront Costs:
    • $600-$750 (large wall)

Gym Climbing Costs for ROI Comparison:

  • Gym Costs:
    • Single Visits: Generally $12-15/Visit
    • Membership: $50-70/month
      • 2x weekly visit for a year equates to ~$6-8/visit for membership

Calculations

  • Based on Single Visit Expenses:
    • $750 wall cost/$15 gym visit = 50 Visits until break-even (approx 5-6 months of 2x weekly visits)
    • ROI based only on one sole user on the wall
  • Against Membership Costs
    • 2x week visits at $70/mo membership (~$8/visit)
    • 95 visits or about 10 months to break-even
    • ROI based only on one sole user on the wall

Other Significant Cost Savings:

  • The Above is only if One user is on the wall, if you have two people using the wall regularly the break-even can be as little as 3 months. It becomes as cheap as climbing outside for free.
  • Gas Savings: Some people have the luxury of living close to gyms or outdoor climbing areas. Others do not. If I bought a membership at the gym in Denver I would drive 16 miles each way and if I visited 2x/wk for a year I would be driving  3,300 miles in a year and at 25 MPG and $3.50/gallon that is another $460 of expense to add on top of my membership fees.

Other Cost Increases:

  • Obsession with Buying New Climbing Holds: Yes you can get obsessed and add a lot more holds/expense to your wall…but it is worth it!!!
  • Beer Costs: More then likely all of your friends and you will be hanging out at your place climbing on your wall. Beer consumption may go through the roof as most climbing gyms frown upon drinking and climbing.
  • Adding an addition to your house for the new wall: Very likely that you may enjoy the wall so much that you build a new garage or a new addition to your home with the specific purpose of housing your climbing wall.

Intangible Cost Savings:

  • Lack of Crowds
  • Climbing possibilities 24/7
  • Learning more about movement/climbing because you are setting routes
  • Your friends might actually appreciate you
  • Not inhaling nasty gym air stale with chalk
  • Something you are proud of and is a part of your climbing

[notice]Break-Even and Planning Spreadsheet for You to Use: [/notice]

I have created a spreadsheet where you can enter in your costs and it will output the break-even plus overall expense. This is handy for planning and/or convincing your significant other/roommate/friend/parents/yourself that it will be worth it.

[important]LINK (everything in light blue you should modify):  https://docs.google.com/spreadsheet/ccc?key=0Au0aVuL4nfExdHQxSlpETVd5MUZhenhHU2hXa1VDZlE[/important]


Build a Triangle Wood Volume for Your Climbing Wall

Synopsis: Below are detailed instructions on how to replicate a small wood triangle for your home wall. The materials are simple and the instructions are (hopefully) very simple. This small wood volume will add a lot to your wall for a minimal amount of money.

Approximate Time of Build: 1-3 hours

Materials Needed:

  • 3/4″ thick 7 or 9 ply wood ~4ft x 4ft (available in full 4×8′ sheets at any hardware store, most will cut down to size and at Home Depot they have precut 4’x4′ pieces for you). Get the good stuff too (usually labeled ACX or one stop down would be CDX) since these are small and you may want to paint it.
  • 1.75″ screws (approx): At least 10 screws. These will be for attaching the pieces together.
  • 2.5″ screws (approx): At least 8 screws. These will be for mounting the volume to your wall
  • T-nuts about 30 or so depending on size
  • Total Material Cost will be $20-30

Tools Needed:

  • Circular or Table or Jig Saw: Anything to cut straight lines
  • Screwdriver/Drill (hopefully electric)
  • Tape Measure
  • Long straight-edge for making cut lines (can be a cardboard box)
  • 7/16th drill bit (to be used for T-Nuts)
  • 1/16th drill bit (to be used for pilot holes for the wood screws)
  • Sandpaper/Sander

Exact Dimension Sizes:

  • Side #1 (30/60/90 Triangle):
    • Length A: 14″
    • Length B: 24″
    • Length C: 28″
    • Angle A/B: 90 degrees
    • Angle B/C: 30 degrees
    • Angle A/C: 60 degrees
  • Side #2:
    • Length A: 13.25″ (read Step #2 below before cutting)
    • Length B: 23″
    • Length C: 26.5″
  • Top Side #3:
    • Length A: 14″
    • Length B: 14″
    • Length C: 20″
    • Angle A/B: 90 degrees
    • Angle B/C: 45 degrees
    • Angle A/C: 45 degrees
  • Website for calculating Triangles: http://www.visualtrig.com/

Video Instructions:

Detailed Instructions:

[tab: Step 1]

  1. Measure out and mark on the wood Side #1
    1. You want the corner to be 90 degrees. The easiest way to do this is start in the corner of a new piece of the panel of wood and measure up for the short side (Length A) and measure across for the long side (Length B).
    2. Once you have the X and Y lengths marked connect the dots with your straight-edge. This length should be the only item that gets cut.
  2. Cut along Length C (should be just one long cut) and you will have a right-angled triangle
ClimbingVolume-Measure

Measuring the First Side – Start in the corners

ClimbingVolume-Cutting

Length C Measured and Ready to Cut

Tools for Climbing Wall

Belt Sander (opt), Sander (req), Circular Saw (req), Jigsaw (opt), Drill (req), 90 degree meaure (opt), Tape Measure (req)

[tab: Step 2]

  1. Measure out and mark wood on Side #2
    1. Use same method as above and measure out the sides (ie start on one of the other corners)
    2. Length A will be 3/4″ shorter on Side 2 (as this is how the triangle will overlap to fit together)
    3. Additionally it will be 1″ shorter on Length B
    4. This is because Side #2 fits inside of Side #1 and the angles need to be the same
  2. Cut Side 2(the diagonal cut)
    1. At this point you should be able to loosely put the pieces together and it should somewhat resemble a triangle
  3. Test for fit
ClimbingVolume-sides

The Two Sides Cut out (Note on Side B, it should say 23″ not 24″). My wood sat out in the rain and was a little dirty. 

ClimbingVolume-TestingFit

Testing for Fit. In this Photo I had the length too long and had to chop it down.

[tab: Step 3]

  1. Assemble Side 1 and Side 2 by joining them on the common length side (Length C), Side # 1 is larger and will sit on top of Side #2
  2. Using ~1.75″ screws secure the two sides together
    1. Drill a pilot hole at the top put in a screw, put another pilot hole at the bottom and another screw, then add in the other screws as needed
    2. ALWAYS use the pilot holes for the screws as you can easily destroy the volume otherwise (because you are screwing into the thin 3/4″ side and can split the plywood very easily)
    3. At this point you should have something that resembles a triangle (without the top of course)


ClimbingVolume-PilotHoles

Prescrewing the holes on Side A so that it is easy to attach

ClimbingVolume-AttachSides

Side A (facing us) with 7 1.75″ Screws attached to Side B

[tab: Step 4]

  1. Measure for Side 3 by using the actual top dimensions of your partially assembled volume.
    1. Mark the wood and make the cut (measure twice, cut once!)
    2. The easiest way to measure is to place the assembled triangle on top of the plywood and trace out the cut. (if you start in the finished corner it makes it even easier)
  2. Attached side 3 to the to the top of Side 1 and 2 using screws
    1. Use pilot holes
    2. At this time you should have an almost completed project
ClimbingVolume-Assembled

Top of the Volume Attached with 1.75″ Screws

ClimbingVolume-Inside

Inside of the Climbing Volume – No Reinforcements Needed

[tab: Step 5]

Optional Step: You may have noticed that the volume does not sit flush against a flat surface because of the angles of the wood. You can make it flush by taking a jig-saw and trimming it down after you have built it. Additionally if you are very proficient in Circular/Table saw use you can do this prior to assembling the sides together by knocking them off at a 45 degree angle

  1. Not having them flush is not a structural issue, but is only for cosmetics
  2. After cutting this flush on one volume and not doing this on another volume, I recommend not cutting down the edge if you don’t need to.

[tab: Step 6]

  1. Mark holes where you want T-Nuts
    1. You can also randomly drill holes, but I find it helpful to know where I am drilling before I start
    2. Put enough t-nut holes that you have plenty of options
    3. You do not need to follow a specific pattern, however some people like that
    4. keep them at least 2 inches from the bottom edge, otherwise they will be unusable with holds
  2. Drill the holes using the 5/8th’s” bit
    1. Drill them straight
  3. If Painting wait until you paint before putting in T-Nuts, if not painting pound in the T-Nuts

[tab: #7: Painting]

  1. Sand all the edges (remember you will be slapping this with your hands) to make it really smooth to touch
  2. Finish with paint, stain or sealer as needed
  3. Painting Tips:
    1. After sanding Primer is the best thing to put down first on the wood. It acts as a sealer and allows the paint to really stick. Primer is not needed, but helps prevent chipping, etc.
    2. Latex Paint = This is the stuff you find in cans at Home Depot/Lowes and you apply with a paint-brush. Works great, cheap, not messy to apply, however make sure the T-Nuts are not installed before painting with Latex. Latex will cover the holes and it is best to paint the volume, then drill the holes for t-nuts.
    3. Spray Paint = easy solution just requires a well ventilated space that is well protected. Apply numerous thin coats (3-5+).
    4. Utherne finish = comes in both spray cans or can be applied via a brush. If you do a cool paint job it helps to seal it with utherne. Found in the paint aisles at any home improvement store. Necessary to keep holds from sticking to your paint job.
    5. Using Tape to make Designs = On my Optimus climbing volume we used lots of coats of paint and also used the blue painters tape to get all of the designs.
Triangle Volume with Holds

The Triangle Volume with Blue/Purple Paint and Holds Mounted on it

[tab: #8: Mounting]

  1. Once everything else is done (paint/t-nuts/etc) it is time to mount the volume.
  2. Use 2.5″ long wood screws (need to be long), you will need at least 8
  3. Predrill the screws into each corner(3-4), where the screws are partially into the volume but not sticking out the otherside. This makes it easy to mount the volume by yourself if no one else is there to help hold it.
  4. Find a spot that looks suitable on your wall (I do not like to put volumes in the middle of the wall but instead put them usually offset off of the middle. Makes route-setting more interesting). Screw in the predrilled screws.
  5. Make sure there are at least 3 wood screws per side.
  6. Mount a climbing hold or two to test strength.
  7. Grab a 6 pack, some friends, and enjoy your awesome new creation.


Climbing Wall Triangle Volume on the Roof

Here I mounted the Volume on the Roof and took it for a Test Drive

Mounting a Climbing Volume to the Wall

The Triangle Volume Mounted to the Wall with Holds and Optimus in the Background


[tab: All Steps]

Steps:

  1. Acquire Materials
  2. Measure out and mark on the wood Side 1 per the above dimensions
    1. You want the corner to be 90 degrees.
    2. Once you have the X and Y lengths marked connect the dots with your straight-edge. This length should be the only item that gets cut.
  3. Cut out Side 1
  4. Measure out and mark wood on side 2
    1. Use same method as above, but the size will be slightly different
  5. Cut Side 2
    1. At this point you should be able to loosely put the pieces together and it should somewhat resemble a triangle
  6. Assemble Side 1 and Side 2 by joining them on the common length side
  7. Using ~2″ screws secure the two sides together
    1. At this point you should have something that resembles a triangle (without the top of course)
  8. Measure for Side 3 by using the actual top dimensions of your partially assembled volume.
    1. Mark the wood and make the cut (measure twice, cut once!)
  9. Attached side 3 to the to the top of Side 1 and 2 using screws
    1. At this time you should have a mostly finished product
  10. Mark holes for T-Nuts
    1. Put enough t-nut holes that you have plenty of options
    2. keep them at least 2 inches from the bottom edge, otherwise they will be unusable with holds
  11. Drill and Pound in T-Nuts
  12. Optional Step: You may have noticed that the volume does not sit flush against a flat surface because of the angles of the wood. You can make it flush by taking a jig-saw and trimming it down after you have built it. Additionally if you are very proficient in Circular/Table saw use you can do this prior to assembling the sides together by knocking them off at a 45 degree angle
    1. Not having them flush is not a structural issue, but is only for cosmetics
  13. Sand all the edges (remember you will be slapping this with your hands) to make it really smooth to touch
  14. Finish with paint, stain or sealer as needed (if you paint putting a couple coats of polyurethane will make the paint last longer)
  15. Mount to your home wall using a couple screws in the edges

[tab:END]

Notes:

  • Larger volumes may need additional reinforcement inside of them

Wall Building Resources on the Web

How to Build a Wall:

Inspiration Gallery

I have been collecting photos of some awesome walls over the years. Here are a number of them for you to reference. If by chance I have a photo of yours on here and you don’t want it please contact me and it will be removed immediately. If you have photos you want to add please send them along!!!

Mountain Project has an awesome collection of Home Woody Inspiration as well: http://mountainproject.com/v/general_climbing/what_does_your_woody_look_like/106606591__1